Installation manual · Rev. 2026

How artificial grass installation works.

Every yard is different, but the sequence never changes. Here's exactly what happens on your property, from the first walk-through to the last cup cut — no guesswork, no surprises.

Read time4 min
Typical install3–6 days
Crew size2–4
Stages07
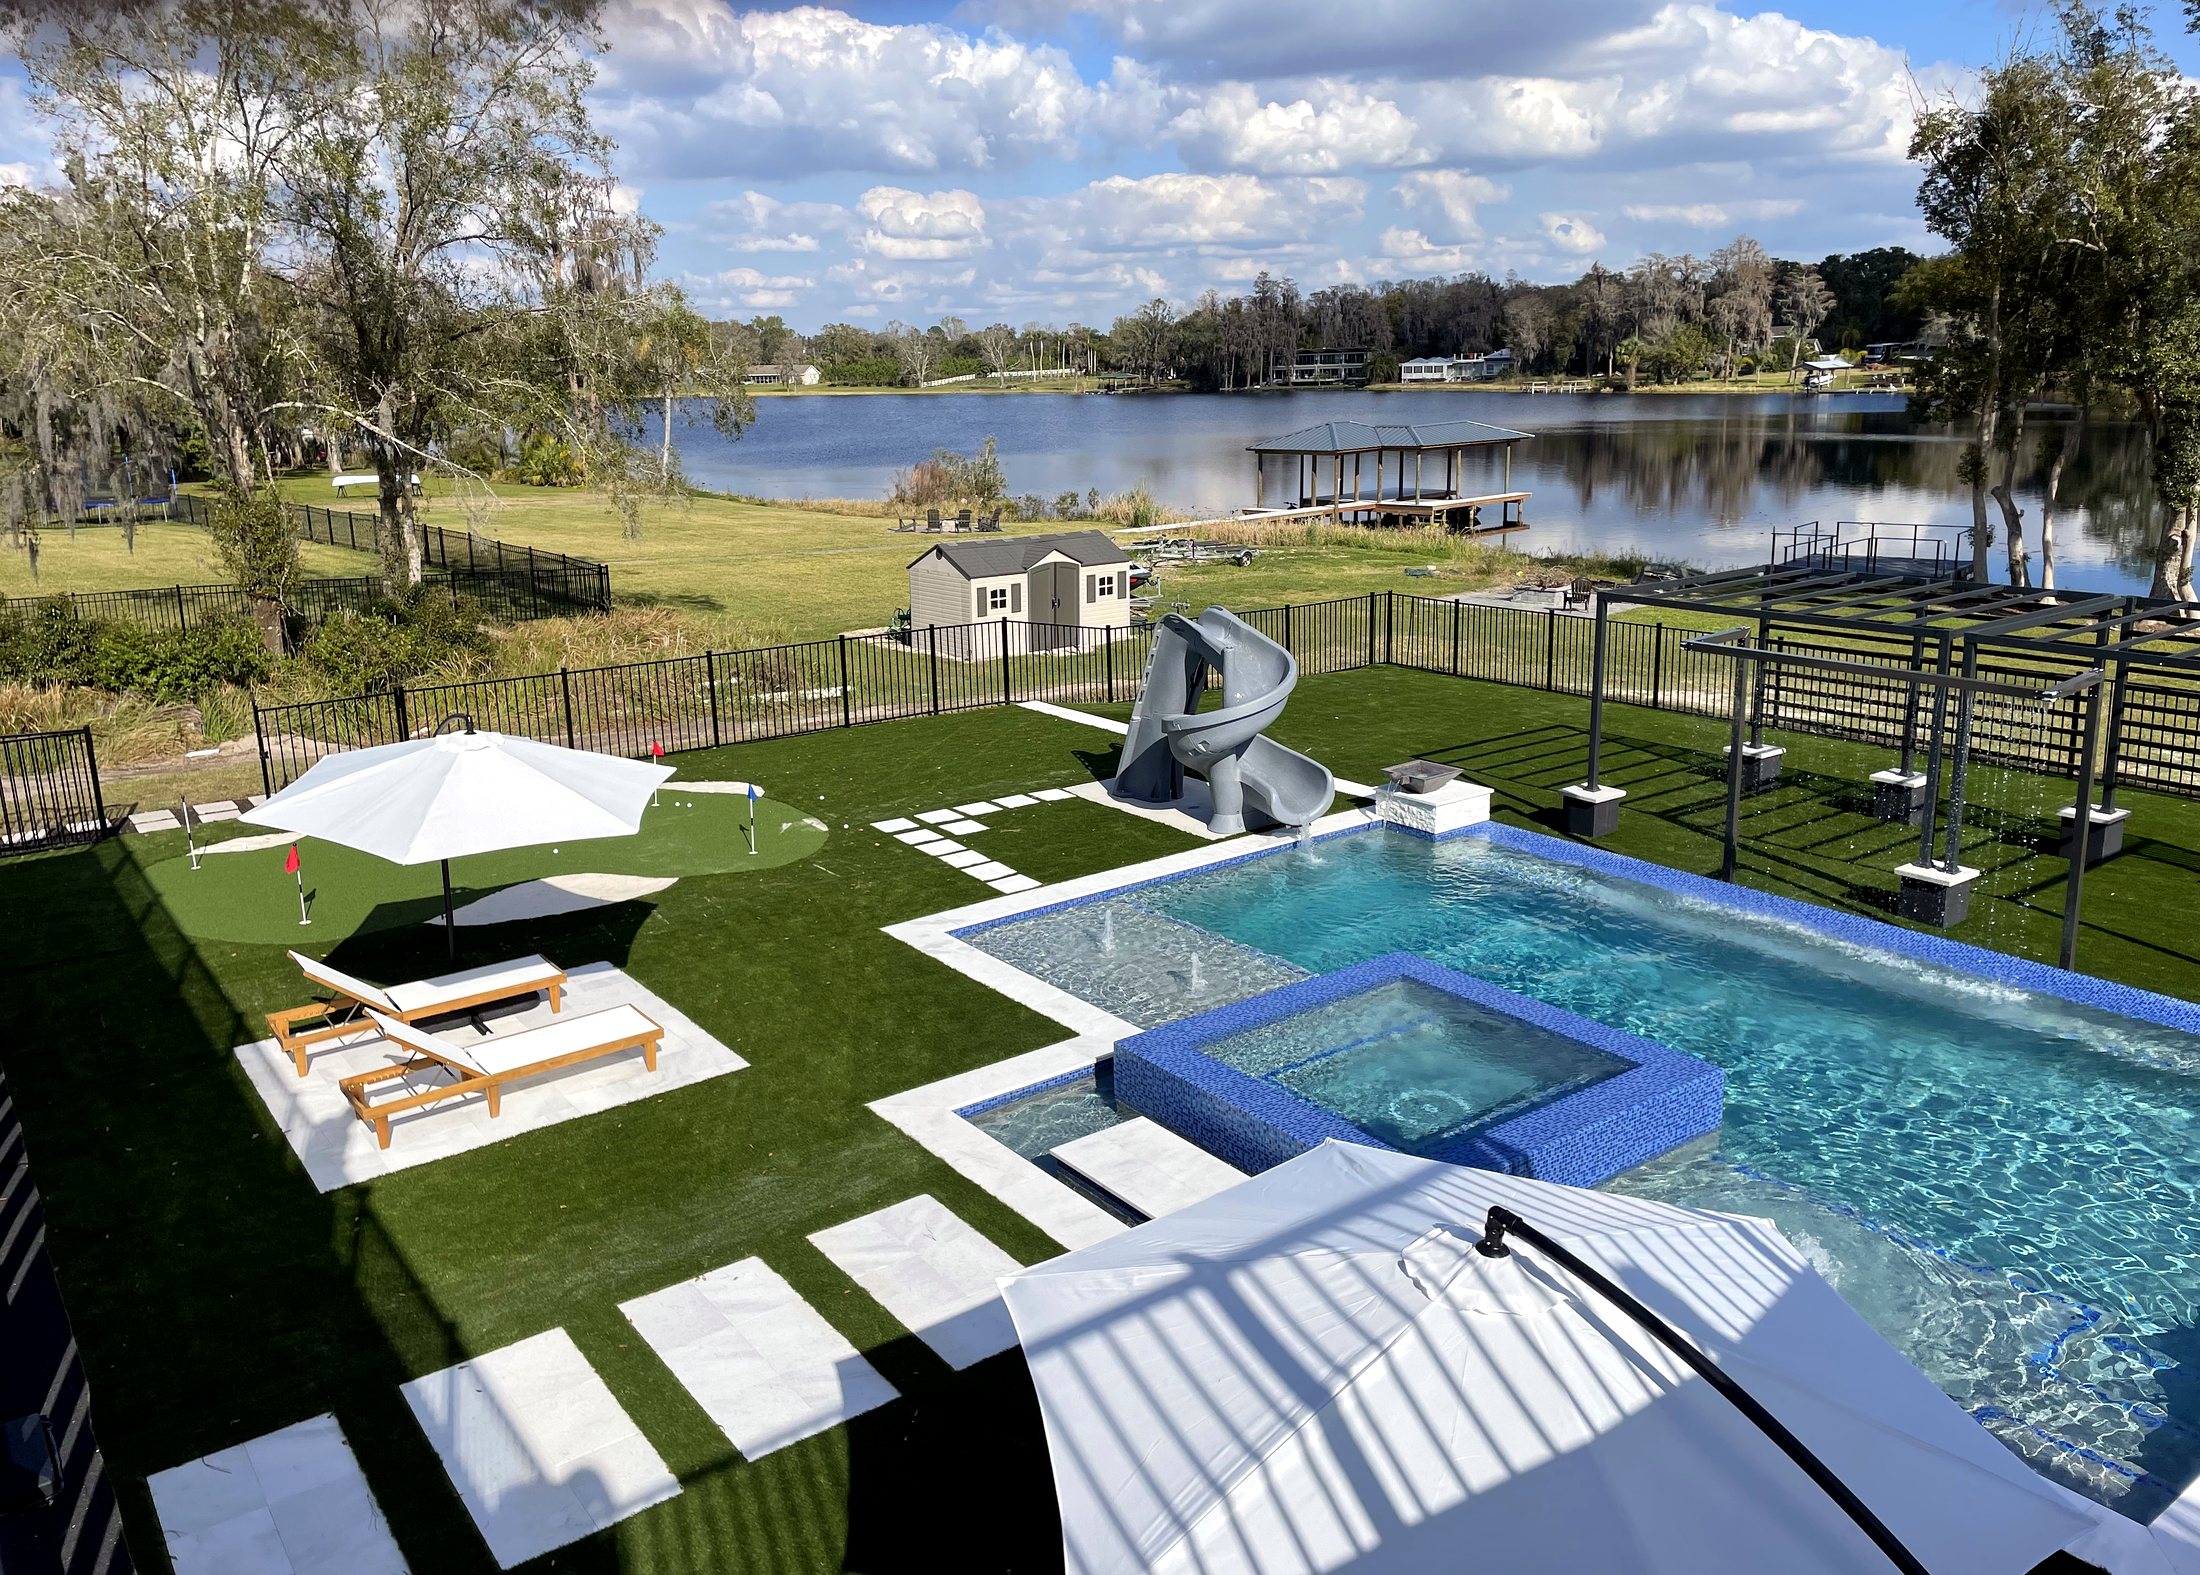
Finished backyard installation with turf, pool, and putting green
Fig. 00 — finished result
Before we start

What shows up on install day.

Every crew arrives with the same core kit. Nothing is subbed out or improvised on site.

Shovels & edging tools
Standard
Plate compactor
Standard
Crushed base rock
Standard
Woven weed barrier
Standard
Turf rolls
Standard
Seam tape & U-nails
Standard
Infill
Standard
Power broom
Standard
Fig. 01

Anatomy of the system.

Six layers, each doing one job — drainage, weight distribution, or the actual look and feel of grass underfoot.

01 — Subgrade

Existing soil, graded flat and sloped for drainage.

02 — Geotextile barrier

Blocks weeds while letting water pass straight through.

03 — Compacted base

Crushed rock, compacted in lifts for a stable, true surface.

04 — Infill

Weighs the turf down and keeps the fiber standing upright.

05 — Grass fiber

UV-stabilized blades in the pile height and color you picked.

The build

Synthetic grass installation in seven stages.

Each stage below pairs the technical drawing with a photo from an actual job site — this is the same sequence every property gets.

01
Assess & mark

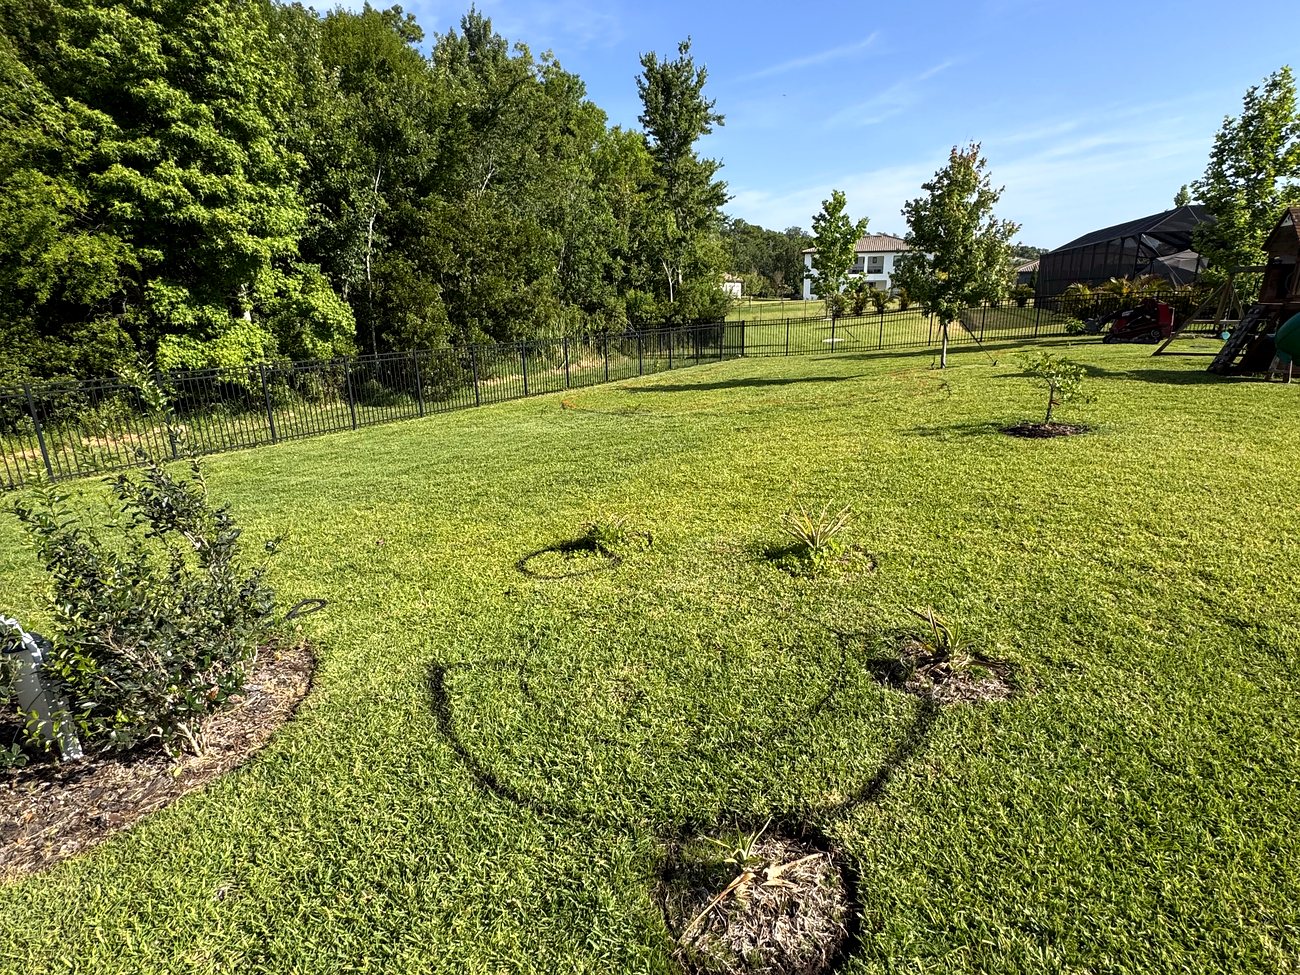
We map the dead zones.

Sun-scorched circles, low spots, and bare patches get walked and marked. The exact footprint gets staked before anything is cut.

Lawn with dead patches marked before putting green installation
Fig. 02 — schematic / job site
Site walk: ~20 minMarked with paint + stakes
02
Excavate

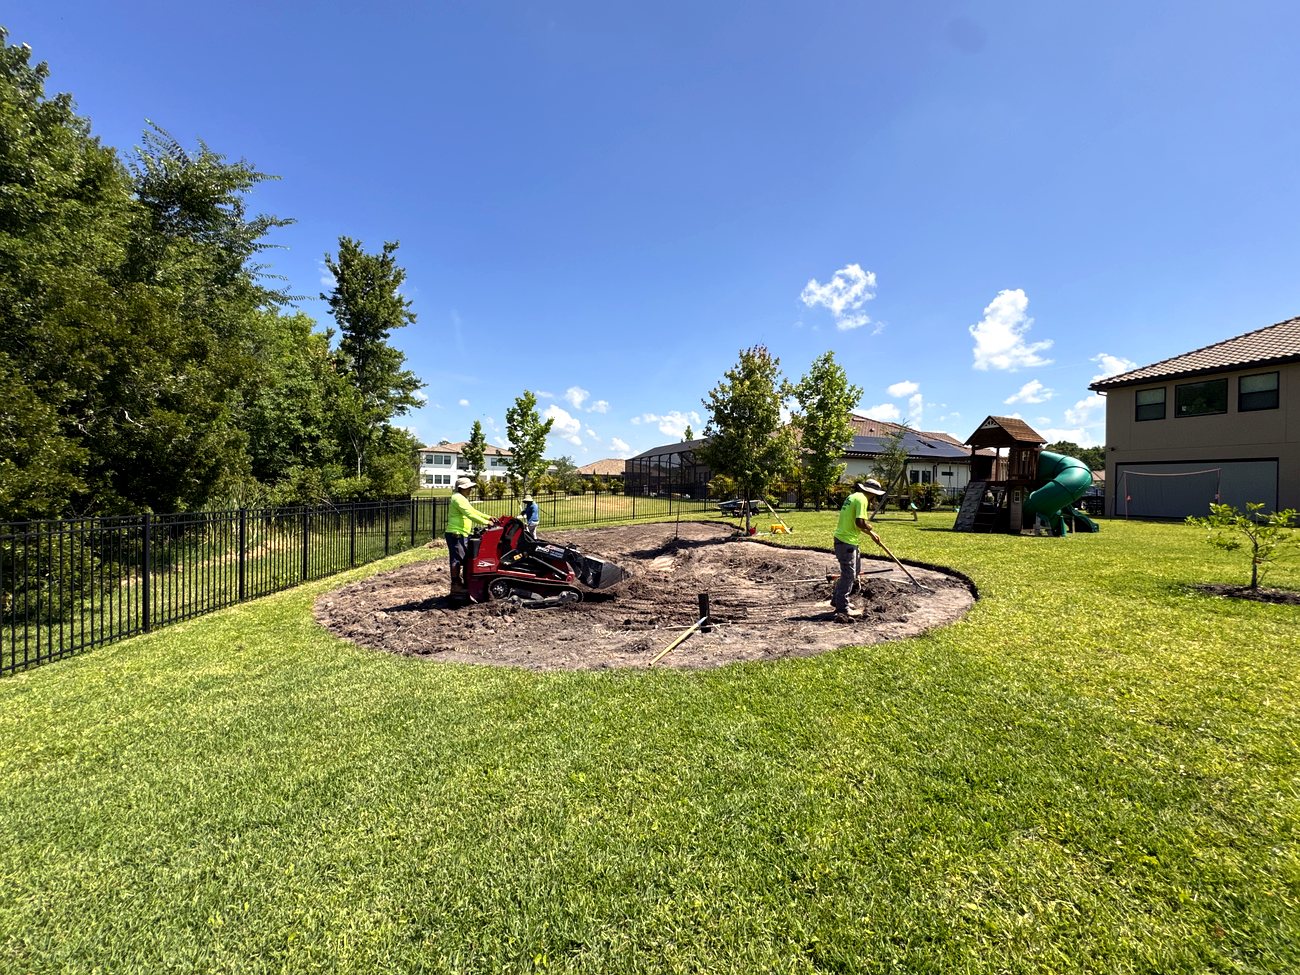
The shape comes out of the ground.

A mini excavator cuts the true contours and hauls out subsoil, leaving room for a base that actually drains.

3–4 in
Crew excavating soil for turf installation
Fig. 03 — schematic / job site
Removal depth: 3–4 in typicalDebris hauled same day
03
Grade & compact

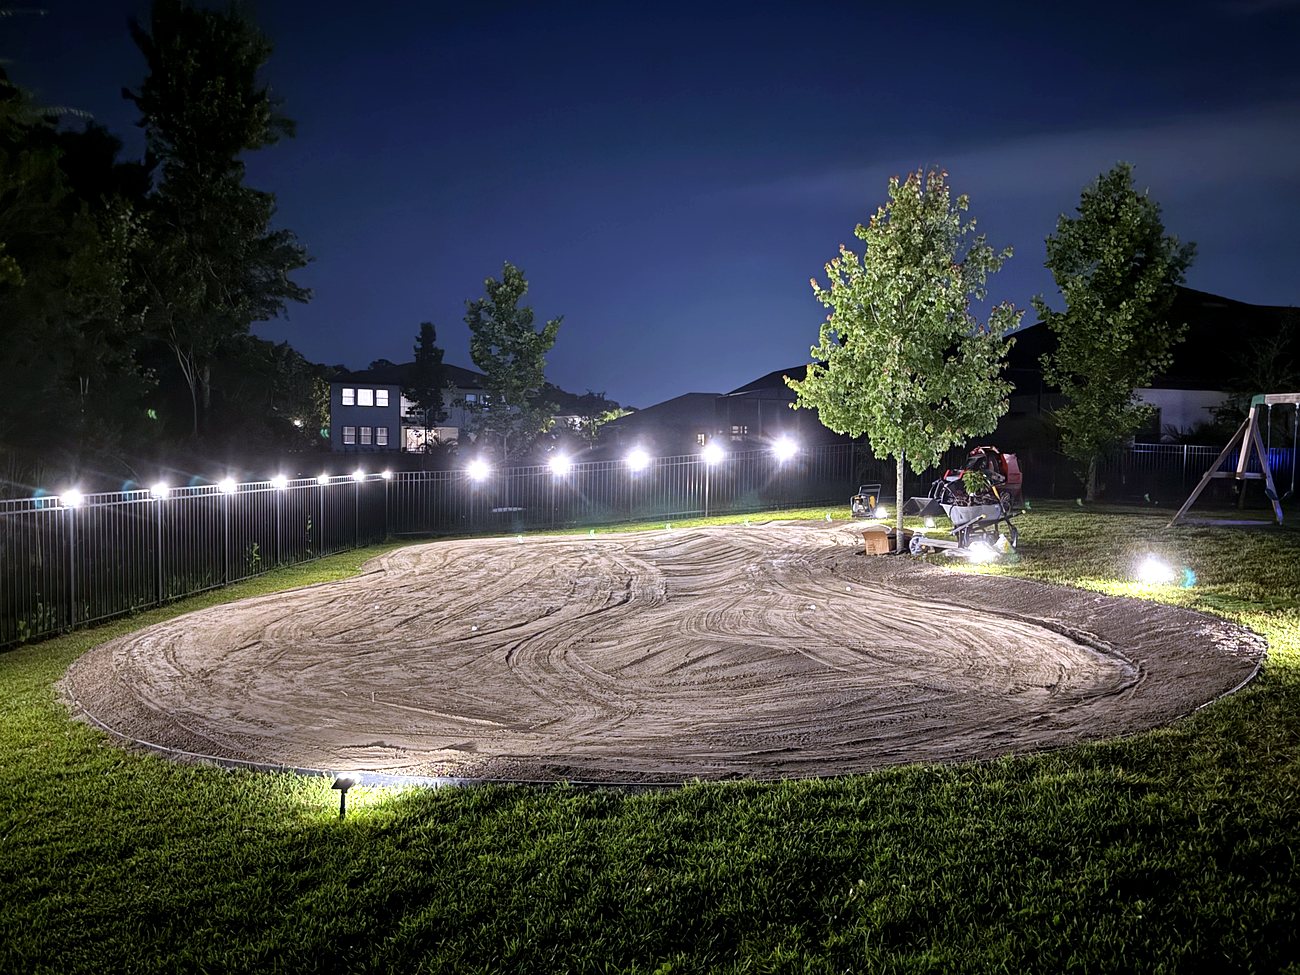
The base is where the turf lives.

Crushed base goes down in lifts, sloped and compacted for water flow and a true, consistent roll on top.

Compacted base preparation for putting green, evening lighting
Fig. 04 — schematic / job site
Compacted in 2 liftsGraded for positive drainage
04
Barrier & edging

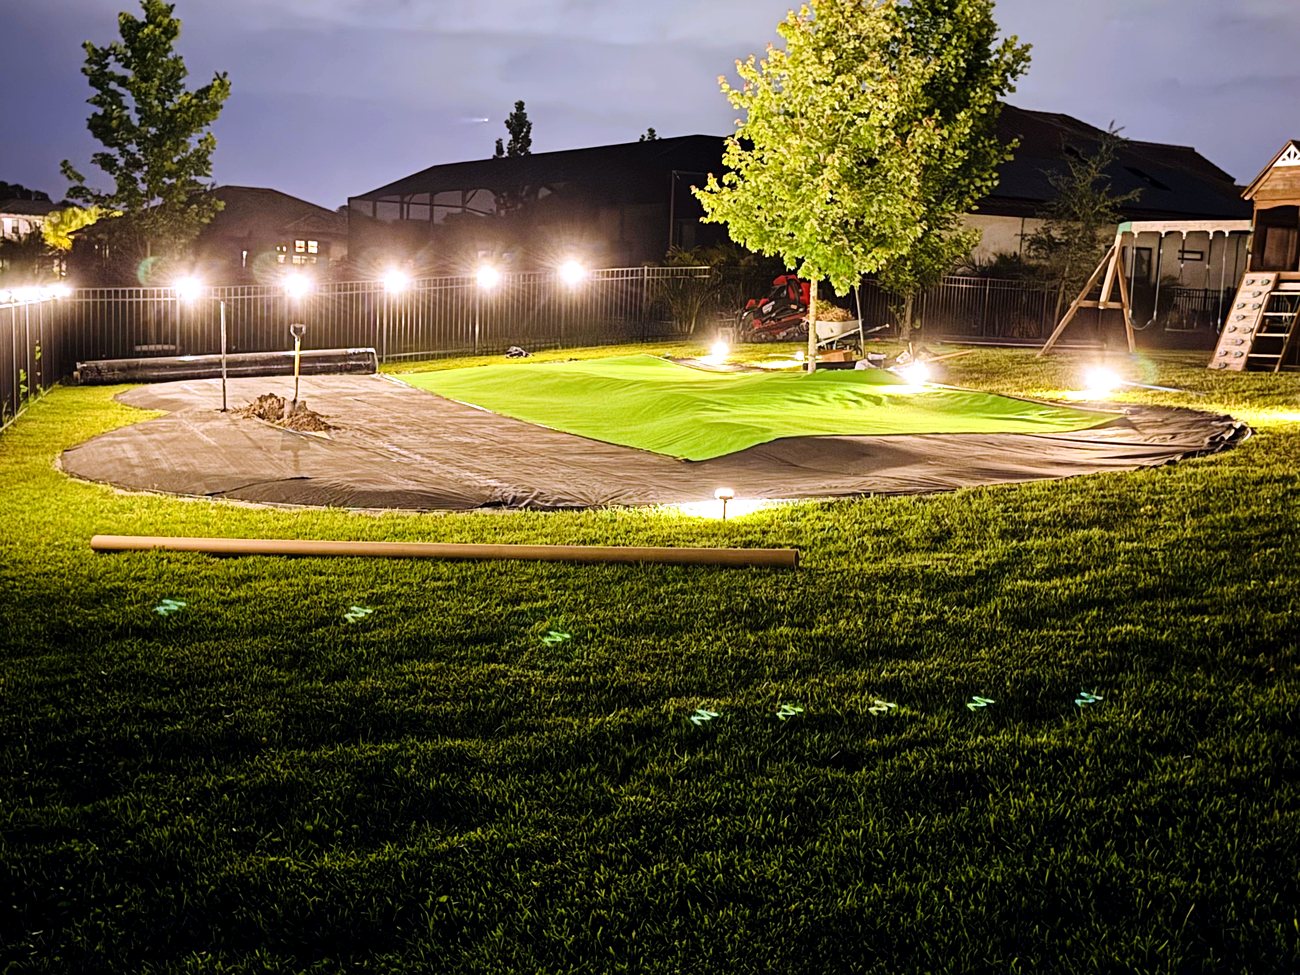
A clean line, top to bottom.

Woven weed barrier goes down over the compacted base, and a perimeter edge is set so the turf has a crisp line to seam into.

nailed every ~6in
unroll over base staples ~6 in 6 in overlap
Fig. 05 — section / barrier detail
Barrier overlap: 6 inEdging set to grade
05
Roll, seam & stretch

Turf goes down, panel by panel.

Rolls are laid with grain running the same direction, seamed with tape and glue, then stretched taut before it's pinned down.

Synthetic turf panels being rolled and seamed
Fig. 06 — schematic / job site
Seams glued + tapedNailed every 6 in on edge
06
Infill & groom

Infill is what makes it feel real.

Infill is spread and worked into the pile with a power broom — it's what keeps the blades standing upright and the surface stable underfoot. It's also where you choose what the turf does for you: we offer two specialty options.

Fig. 07 — section / what infill does underfoot
Option A

Pet Sand

An antimicrobial-coated infill that stops odor-causing bacteria from taking hold, so urine rinses through instead of lingering. The default choice for any yard with dogs.

Option B

Cooling Sand

A reflective infill engineered to cut heat buildup in the pile — reducing turf surface temperature by up to 50°F. Worth it for full-sun yards, pool decks, and play areas.

Infill rate varies by productGroomed for an upright pileBoth options can be combined
07
Finish & inspect

Cups are cut, flags go in.

Edges are trimmed flush, holes and fringe are cut to spec, and the whole install gets a final walk-through before we call it done.

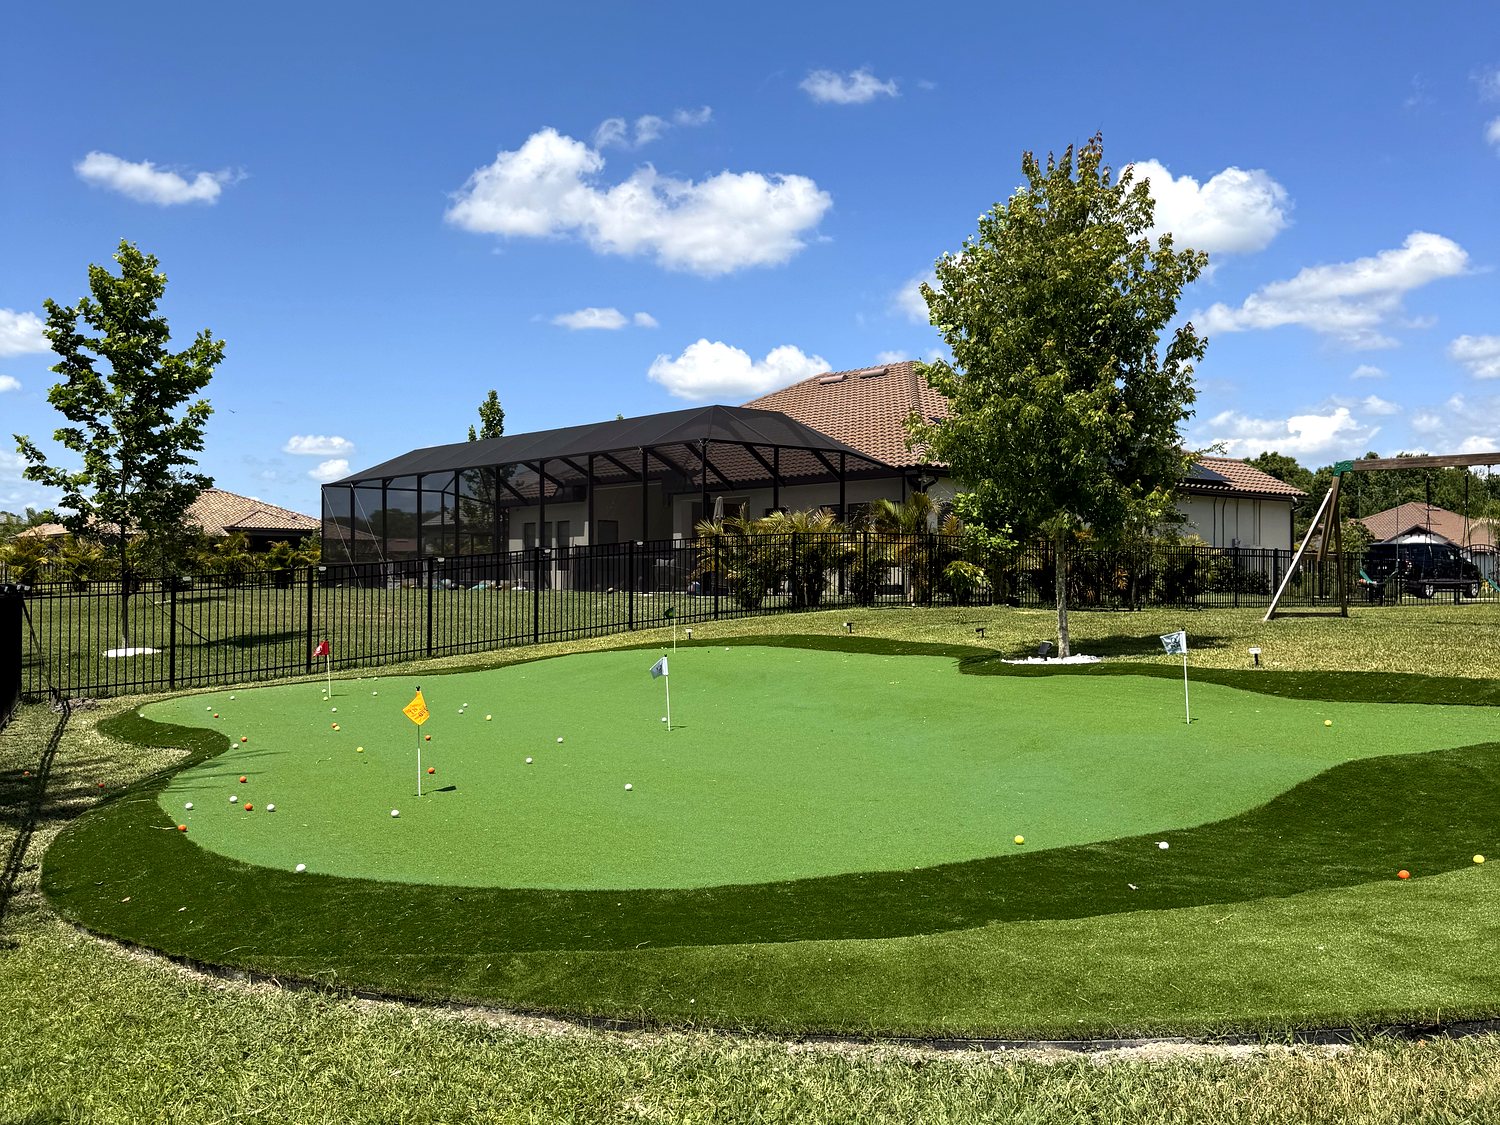
Finished putting green with flags and golf balls
Fig. 08 — schematic / job site
Full walk-through with youDebris hauled off same day
On the calendar

What this looks like across a week.

Timing shifts with size and weather, but most residential jobs land somewhere in this window.

Day 1Assess, mark & excavate
Day 2Grade & compact base
Day 3Barrier & edging
Day 4–5Roll, seam & stretch
Day 5–6Infill, groom & finish
After we leave

Keeping it looking like day one.

Turf is low-maintenance, not no-maintenance. A few habits keep it looking new for years.

Rinse pet areas weekly

A quick hose-down keeps odors from building up in high-use spots.

Brush high-traffic zones

A stiff broom against the grain keeps fibers standing upright.

Keep direct flame off turf

Fire pits and grills need a heat-safe mat between them and the fiber.

Rinse off after storms

A light rinse clears leaf litter and pollen before it settles into the pile.

Ready to start yours?

Send a few details and we'll walk your property through the same process.

Get a free quote